How to Add an MCP Server to Claude Desktop
Adding an MCP server to your AI assistant is simpler than it looks. In today's guide I'll walk you through it step by step - the newer Connectors panel, the config file for local npm servers, and a working Chrome DevTools MCP by the end.
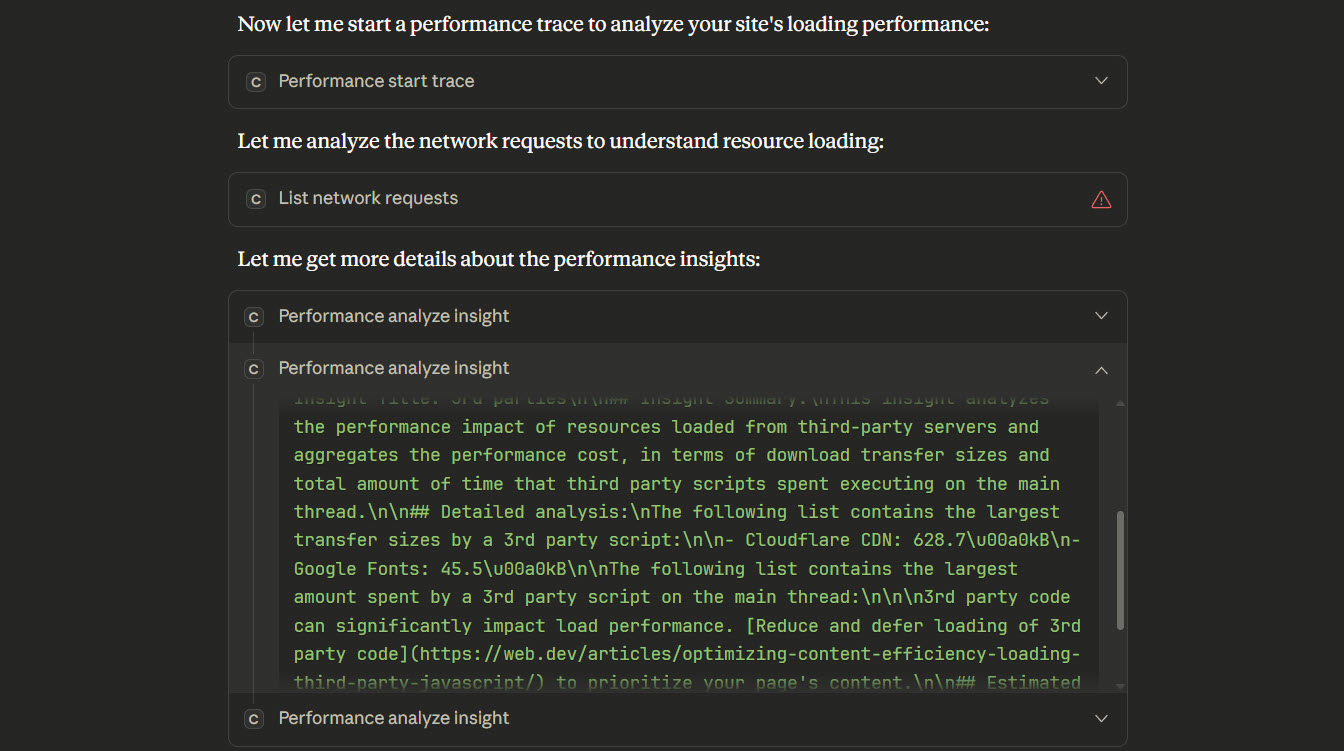
For almost all of us, the concept of adding an MCP to your AI assistant is completely new. That's fine - it's simpler than it looks. I'm going to quickly and simply explain how to add an MCP server to Claude Desktop.
You'll need Claude Desktop installed to follow along. If you're new to Claude, new accounts get a free week of Claude Code , and the same plan covers Desktop.
Check the Connectors panel first
Before you touch a config file, open Customize in Claude Desktop's left sidebar and click the Connectors tab. This panel is the newer way in, and for the popular integrations it's the whole job: pick a card from the directory (Gmail, Notion, GitHub, Stripe and a few hundred more), authenticate in your browser, done. Two clicks, no JSON.
The same panel has an Add custom connector button for remote MCP servers - paste the server's URL, authenticate, and it's connected. Free accounts are capped at one custom connector. Some publishers also ship a .mcpb file, a one-click installer: download it, double-click, and Claude Desktop registers the server itself.
So why does the rest of this guide exist? Because a big share of MCP servers - including most of the ones I run - are local npm packages, and those still register in the config file. If a server's install instructions start with npx, this is your route.
Open Claude Desktop
Your first port of call is to open Claude Desktop and navigate to Settings > Developer
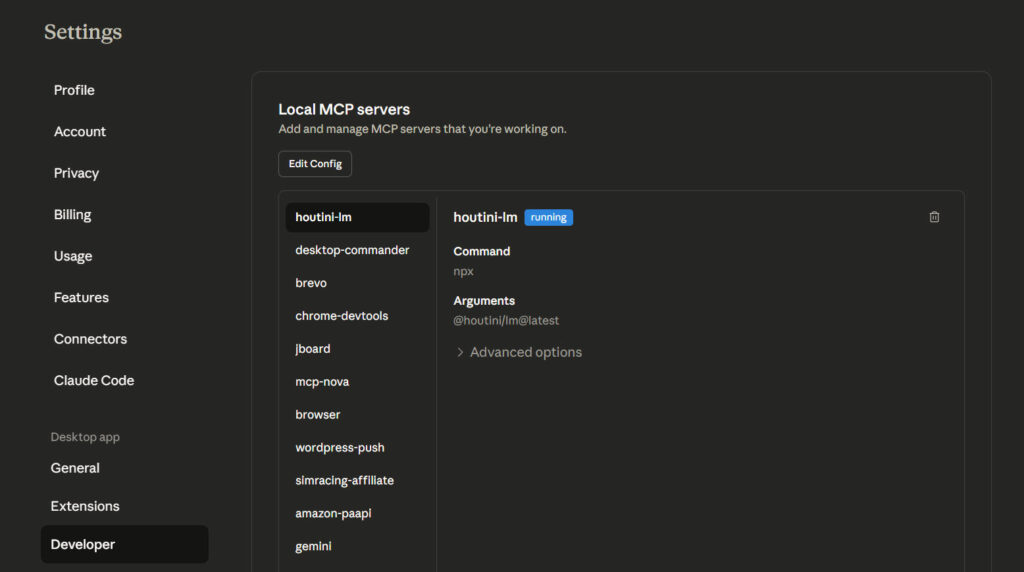
To add an mcp server, click "Edit Config".
This will open the Claude AppData directory on your machine. Here's what that looks like:
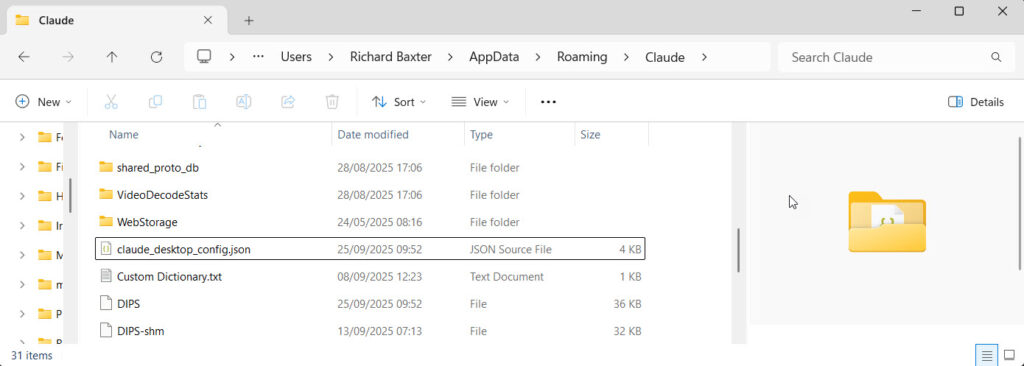
Open claude_desktop_config.json
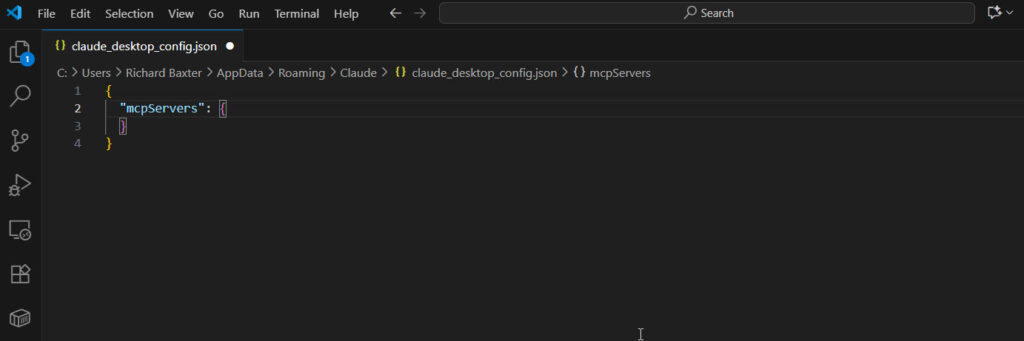
As I happen to be writing about Chrome's DevTools MCP, let's add their MCP server reference:
{
  "mcpServers": {
    "chrome-devtools": {
      "command": "npx",
      "args": ["chrome-devtools-mcp@latest"]
    }
  }
}
When you're done, your Claude config file will look like this:
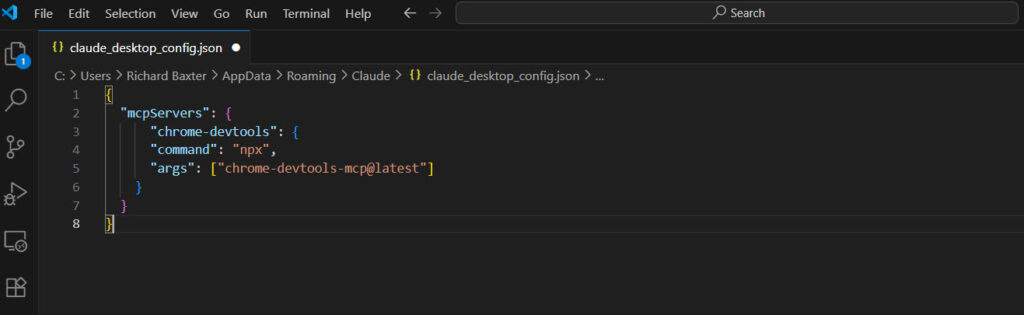
Save your config file, and close Claude.
Install Node.js
Many MCP servers are Node based. It's a JavaScript "runtime" that allows you to run Node packages. You might have spotted that we're about to run the @latest version of the Chrome Devtools MCP from the npm (Node Package Manager) registry.
To make this happen, all you need to do is install Node.js :
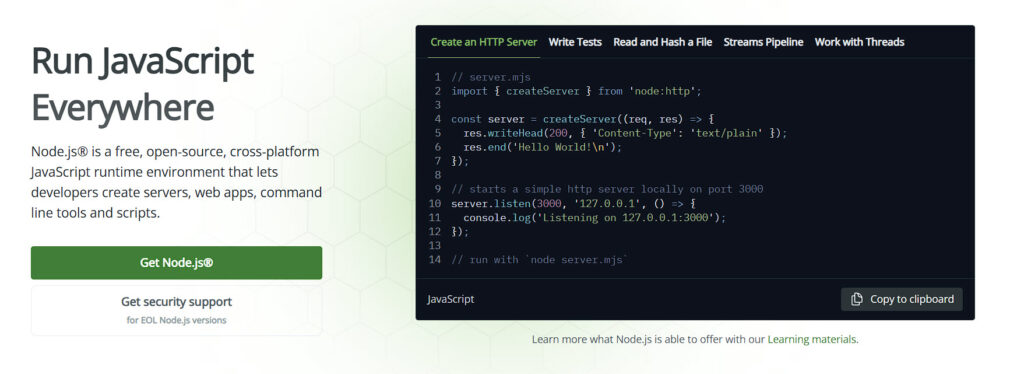
You may have noticed that Claude's config file executes the npx command. This is very useful because it means that on startup, the command will check if the MCP package is installed. If it isn't, the package will be downloaded and installed directly from the npm repository.
It's easier than you think - to check that everything installed correctly open CMD and run:
node --version
npm --version
npx --version
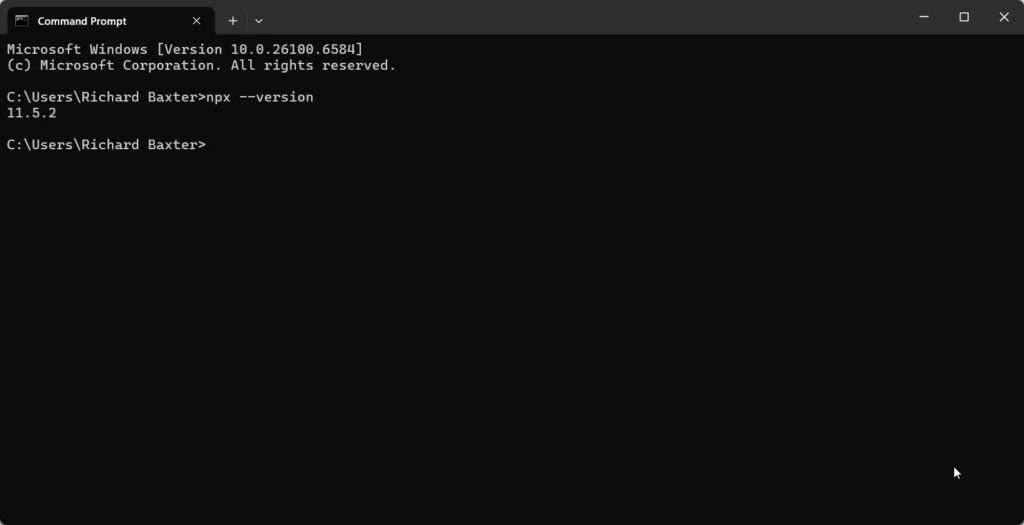
When you're done, open Claude and give it a test:
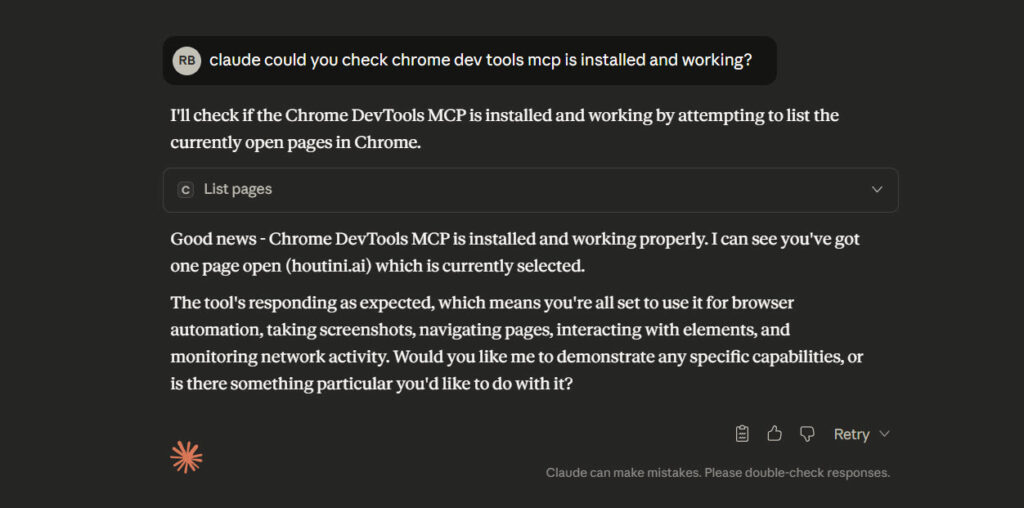
And that's how to install your first MCP server!
Related Posts
Continue reading.
- How-to GuidesHow to Stop MCP Servers Eating Your PC: One Docker Gateway for Every Claude Client15 Aug 2026
- How-to GuidesHow to Use the Gemini API (and Why I Run It Next to Claude)15 Aug 2026
- AI ToolsHow to Do a Technical SEO Audit with Claude20 Jul 2026
- ExplainerWhat is a Marketing Engineer (and do you need one)?31 Aug 2026
- AI WorkflowsDynamically updating infographics and content (so you don't have to)28 Aug 2026
- Case StudiesThe parts Shopify Plus B2B doesn't do (and how we built them)28 Aug 2026